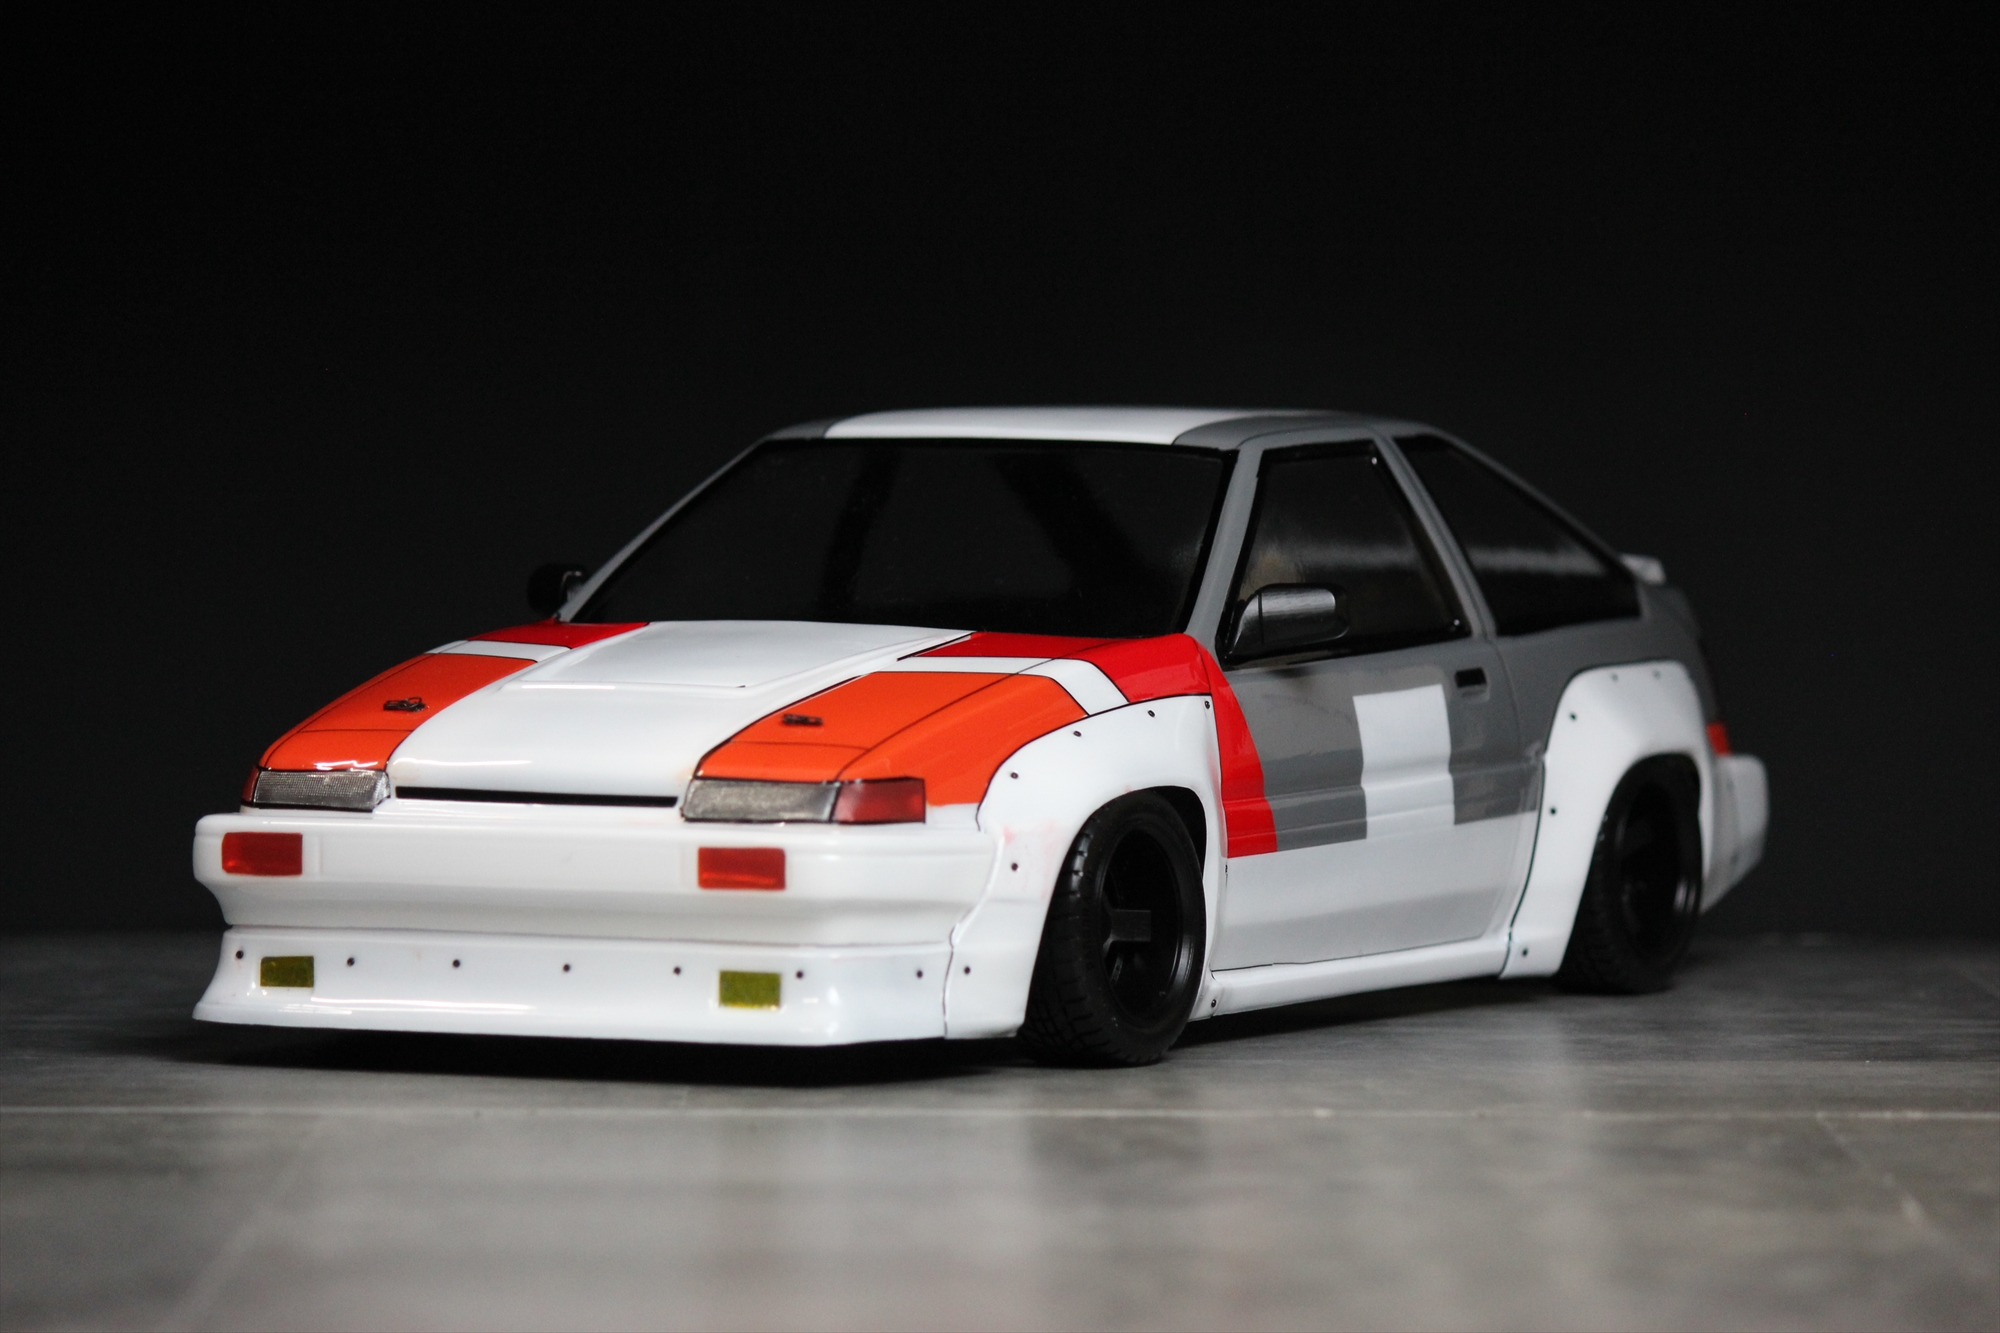
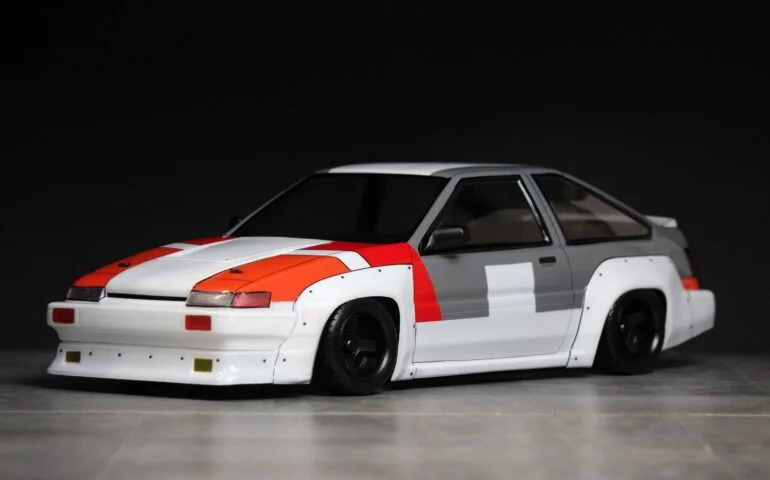
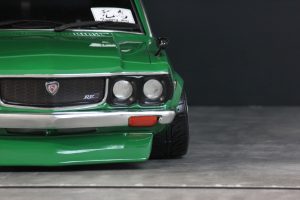
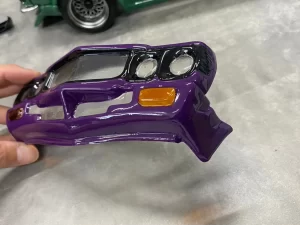
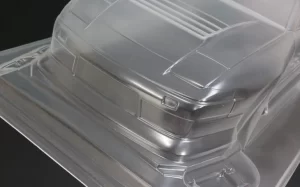
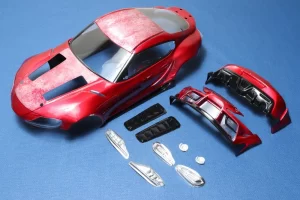
In this article, we’ll explain the cutting lines to help you avoid difficulties in bodywork after purchase. Please use the red lines in the images as a reference for cutting. If you’re concerned about cutting too much, leave a bit extra and trim gradually. (The key to success is not trying to get a perfect finish in one go!)
Certainly! Let’s start right away by using the images as a reference and building the image step by step in your mind!
Front
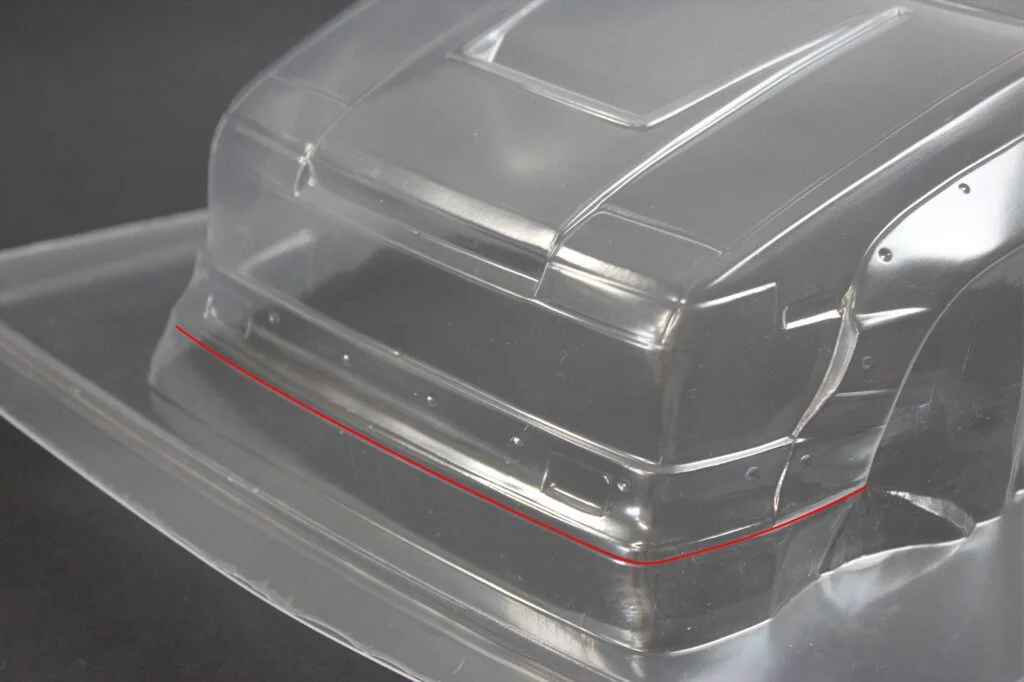
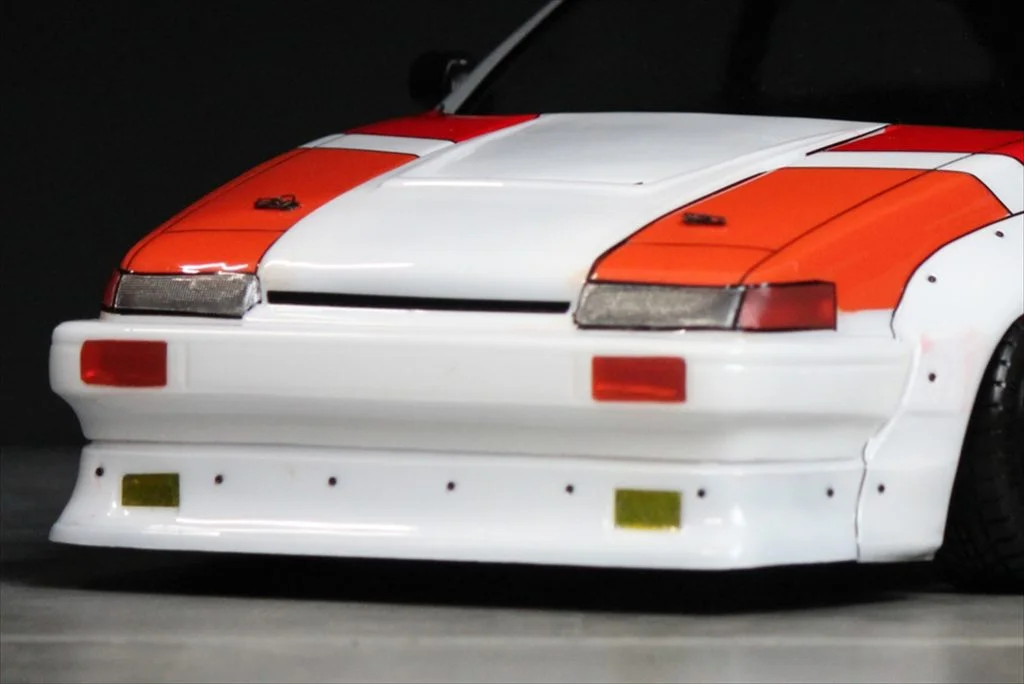
Wheelarch (Front)
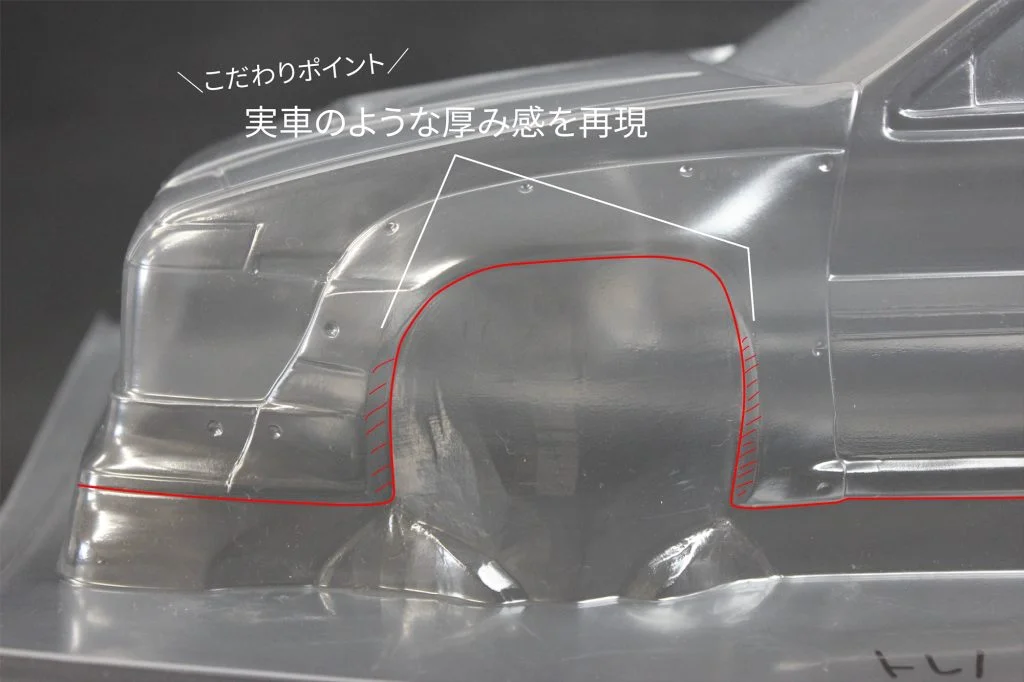
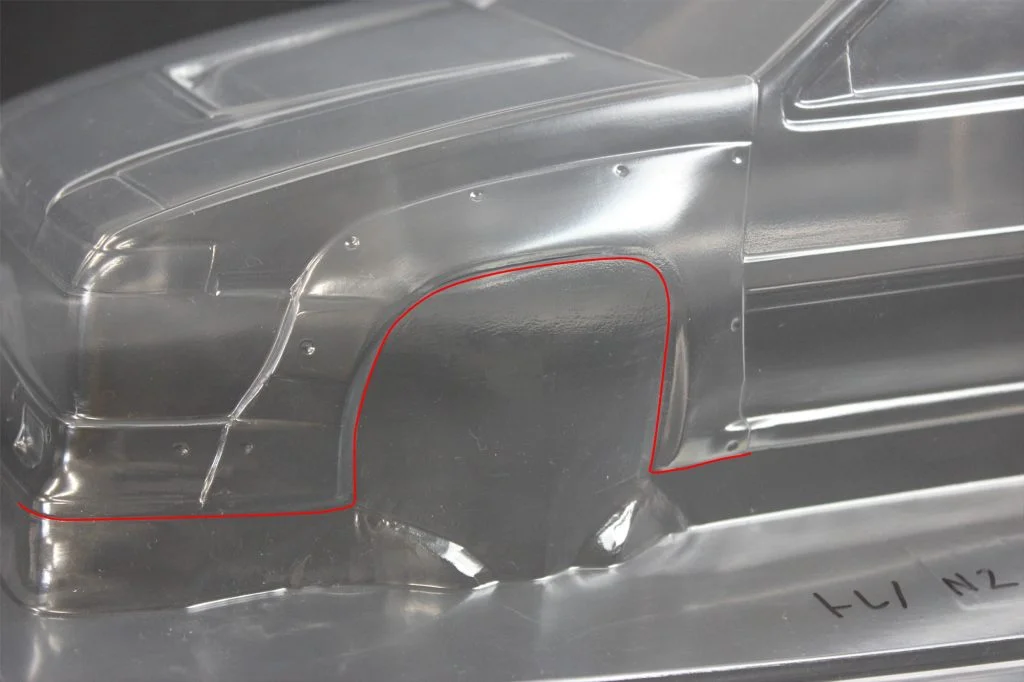
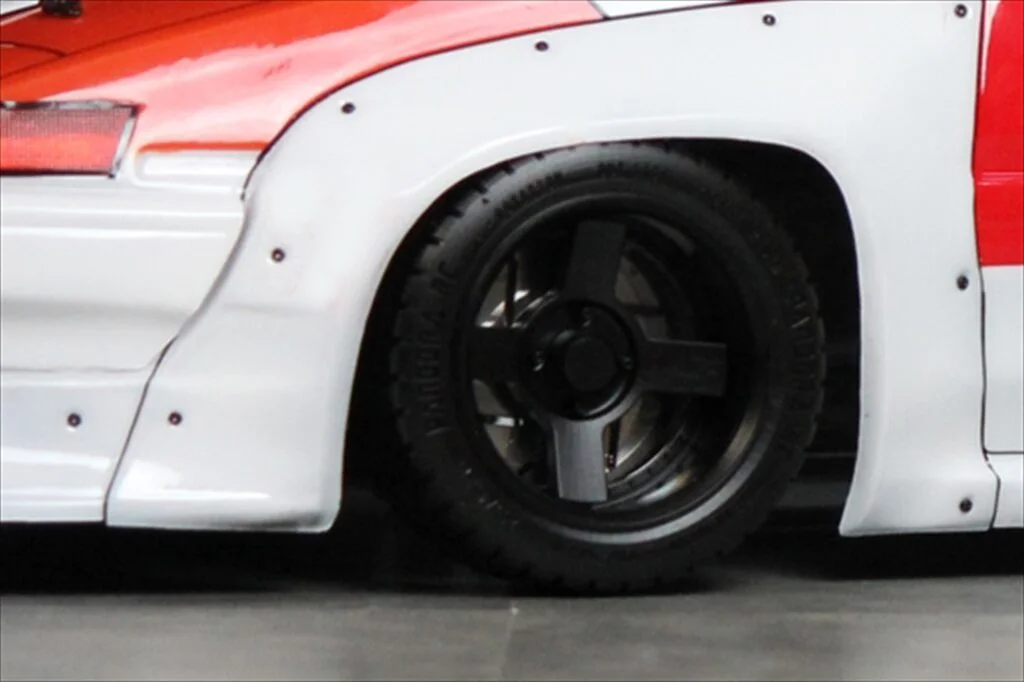
Achieving a more realistic finish by giving it a thickness similar to that of an actual vehicle (indicated by the red diagonal lines).
Wheelarch (Rear)
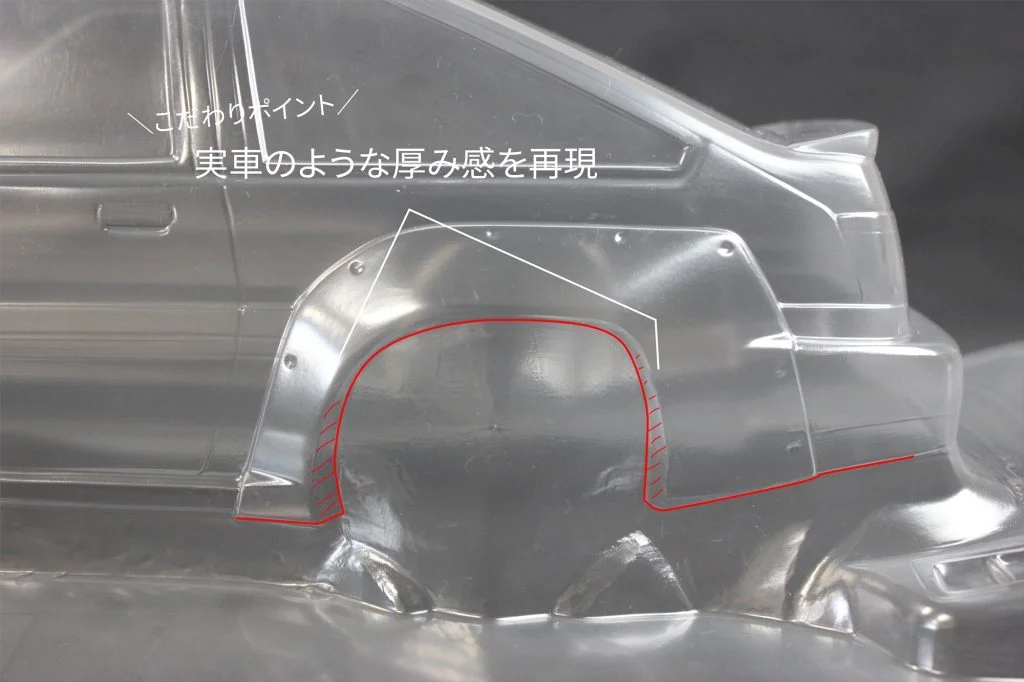
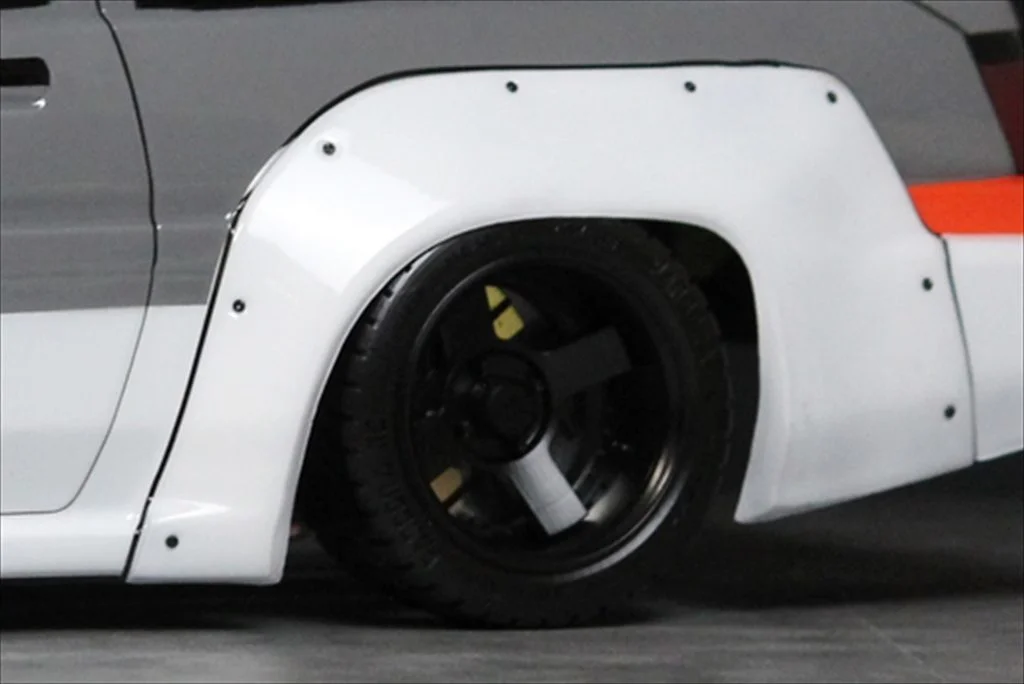
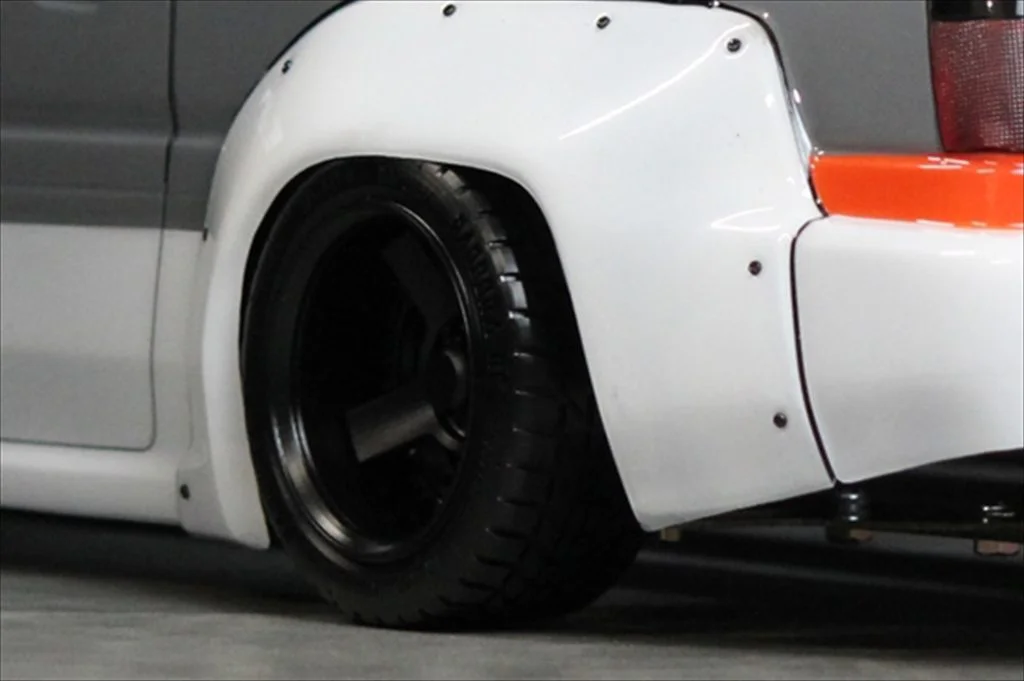
Achieving a more realistic finish by giving it a thickness similar to that of an actual vehicle (indicated by the red diagonal lines).
Wheelarch (Rear)
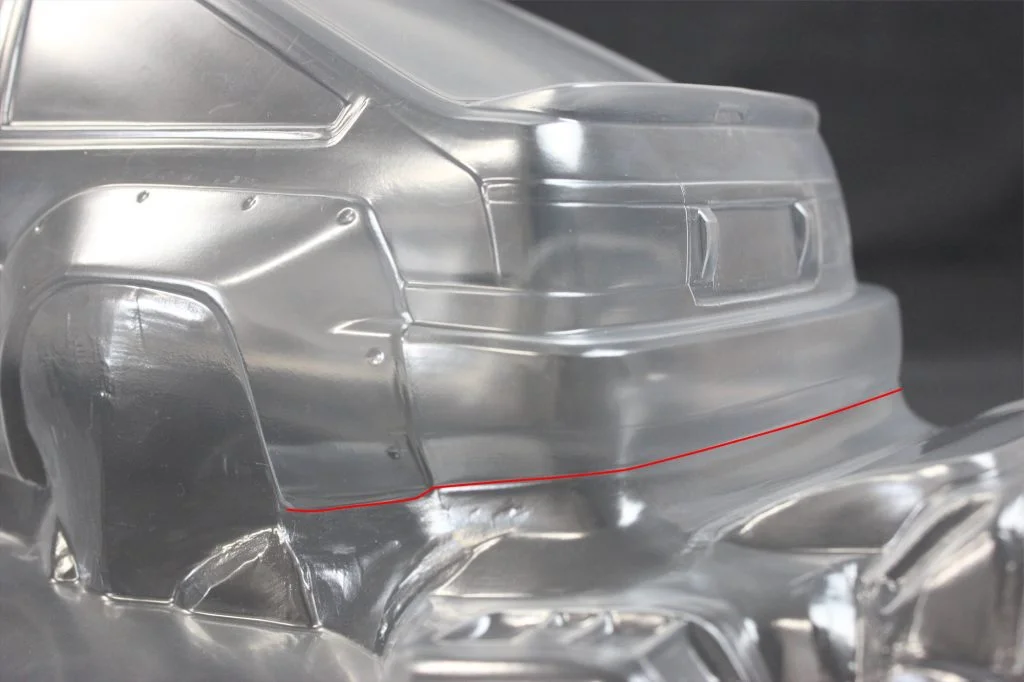
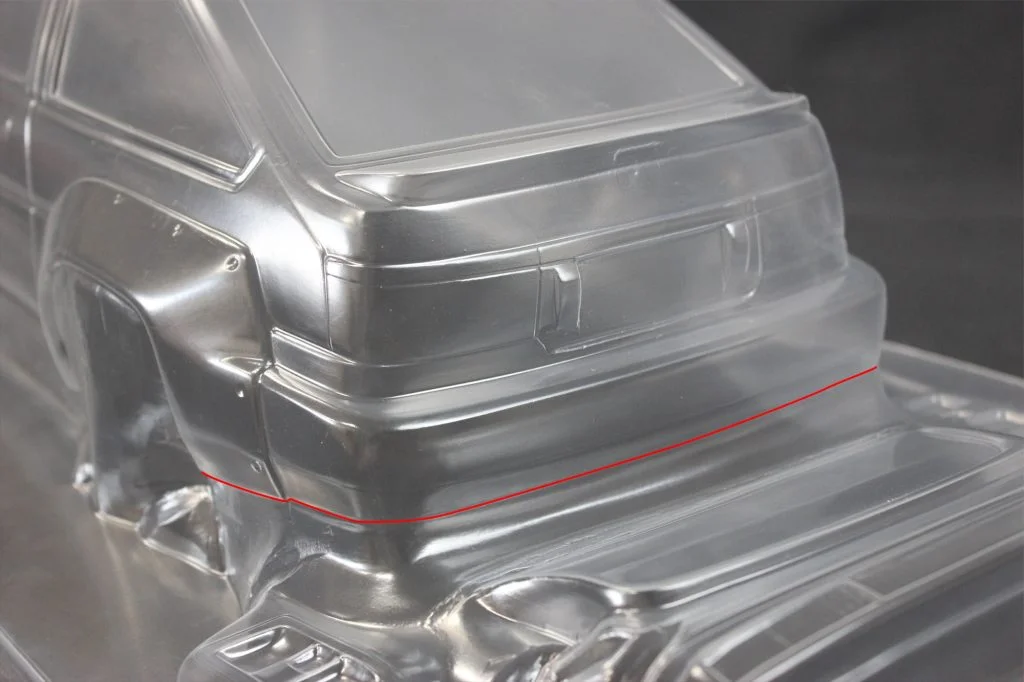
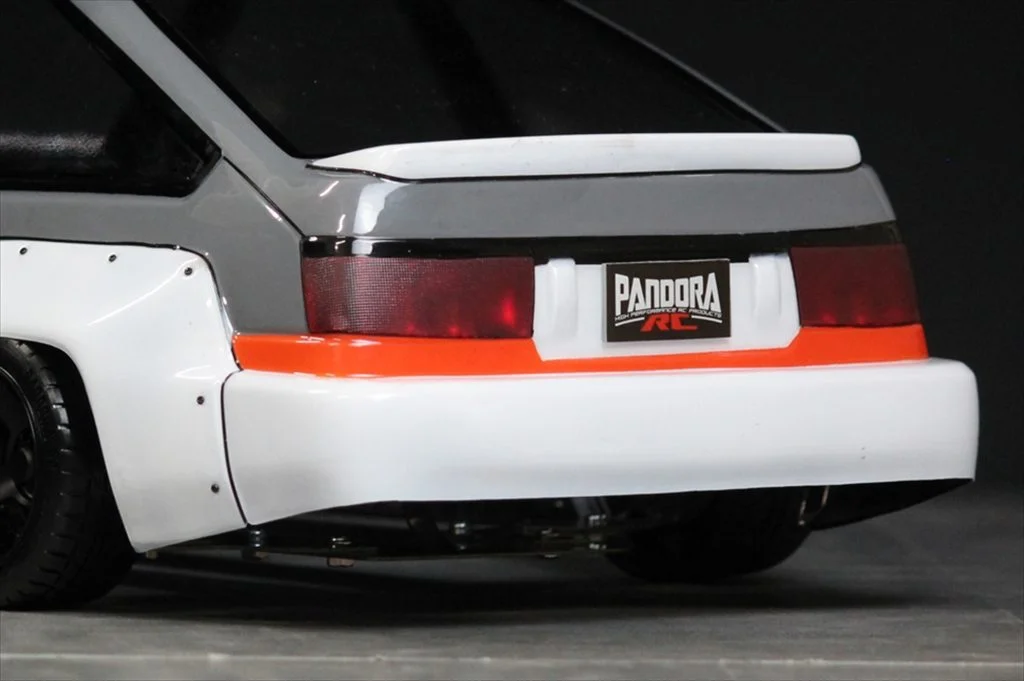
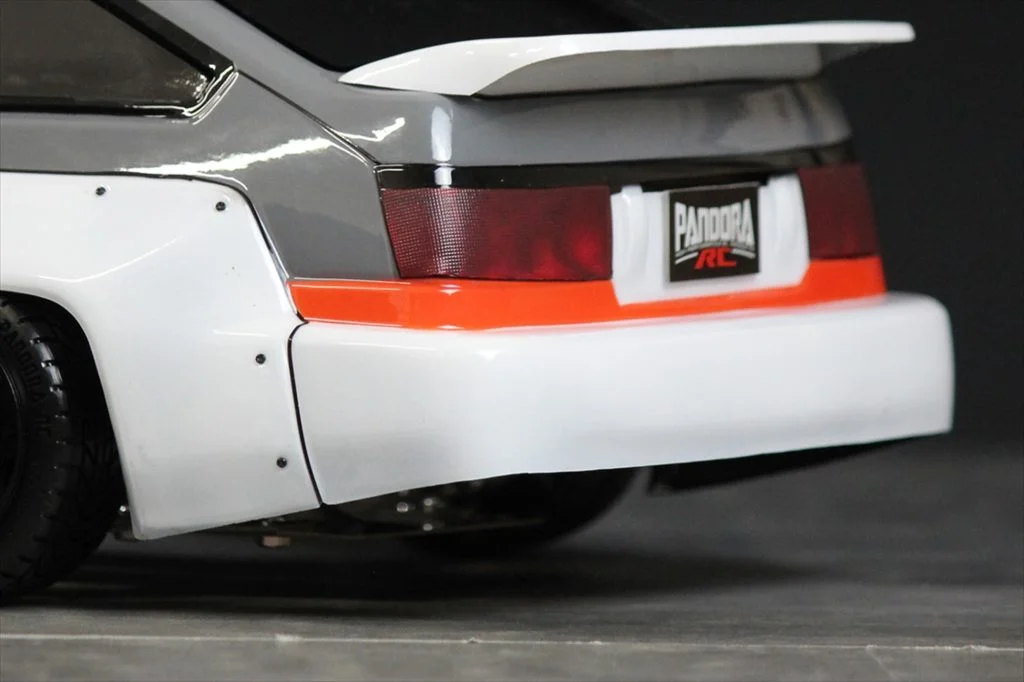
Bumper
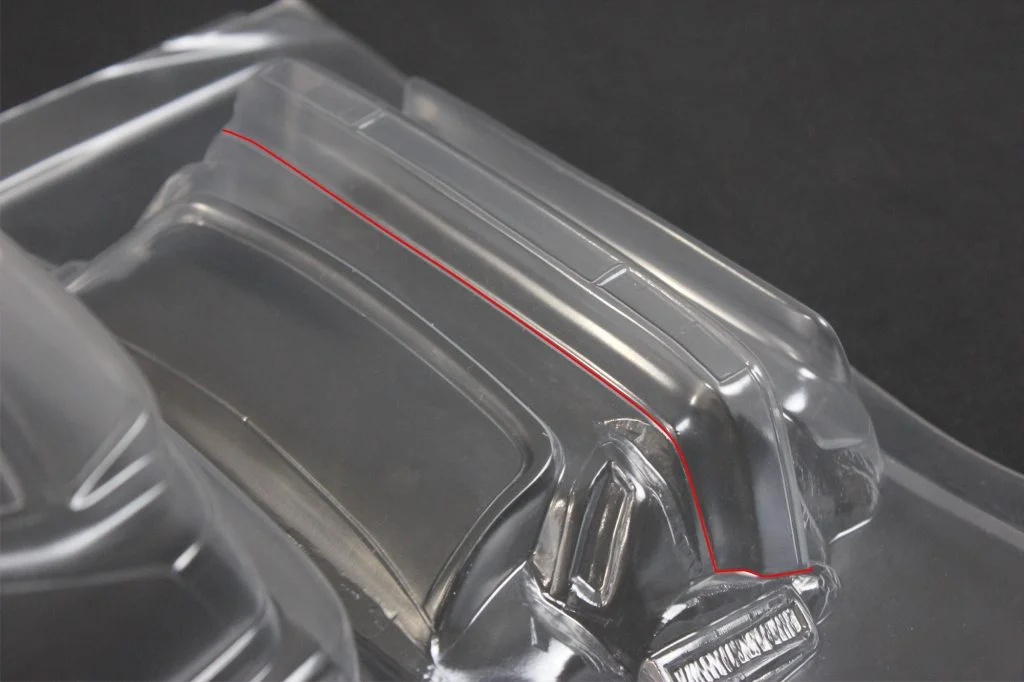
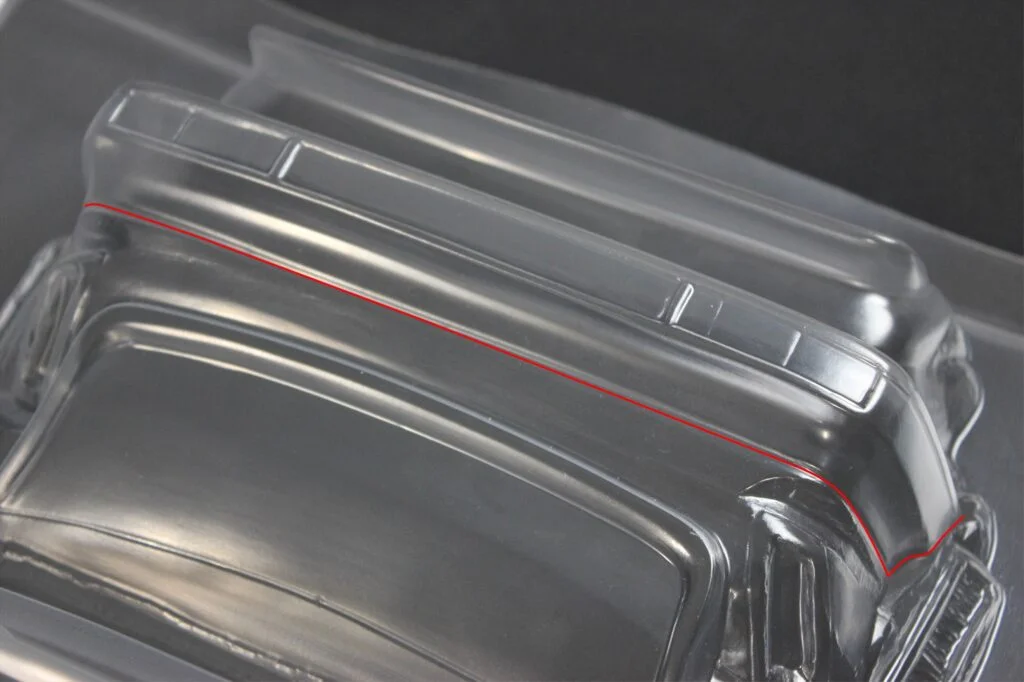
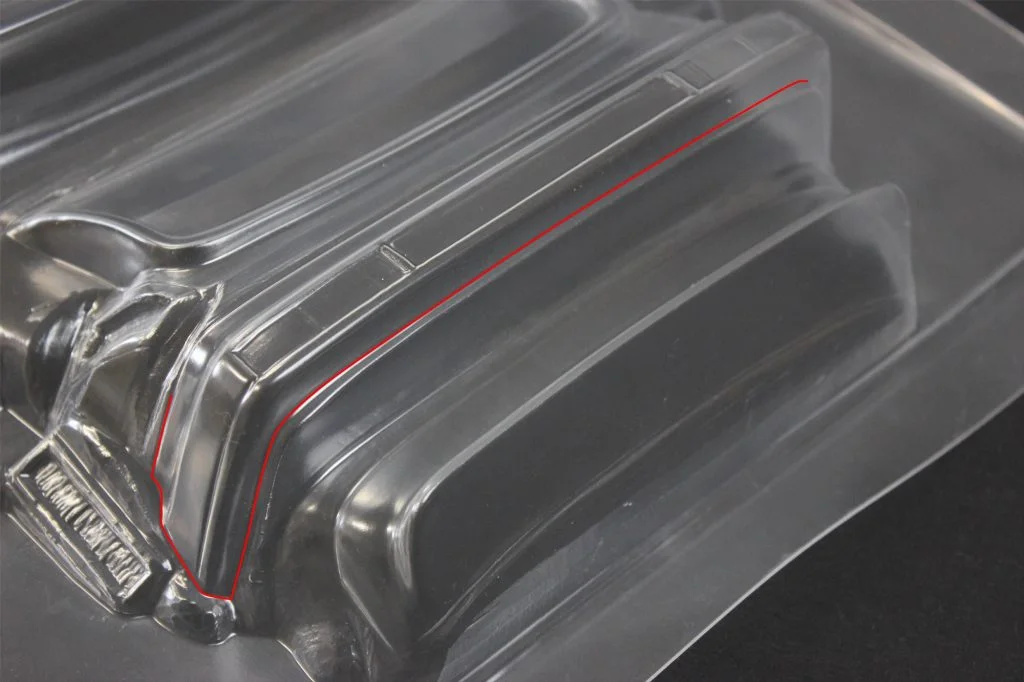
For separate parts like the bumper, adjustments may be necessary when combining them with the body. Gradually cut and adjust as needed. As mentioned earlier, the key to success is to cut slightly larger than the cut lines for this purpose.
Light Parts
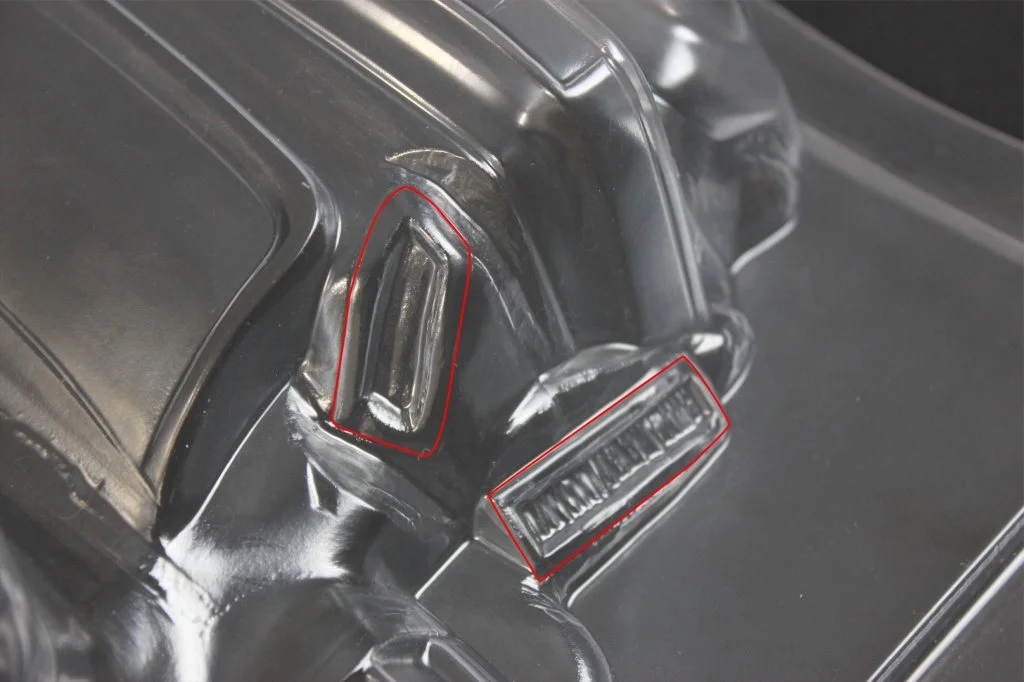
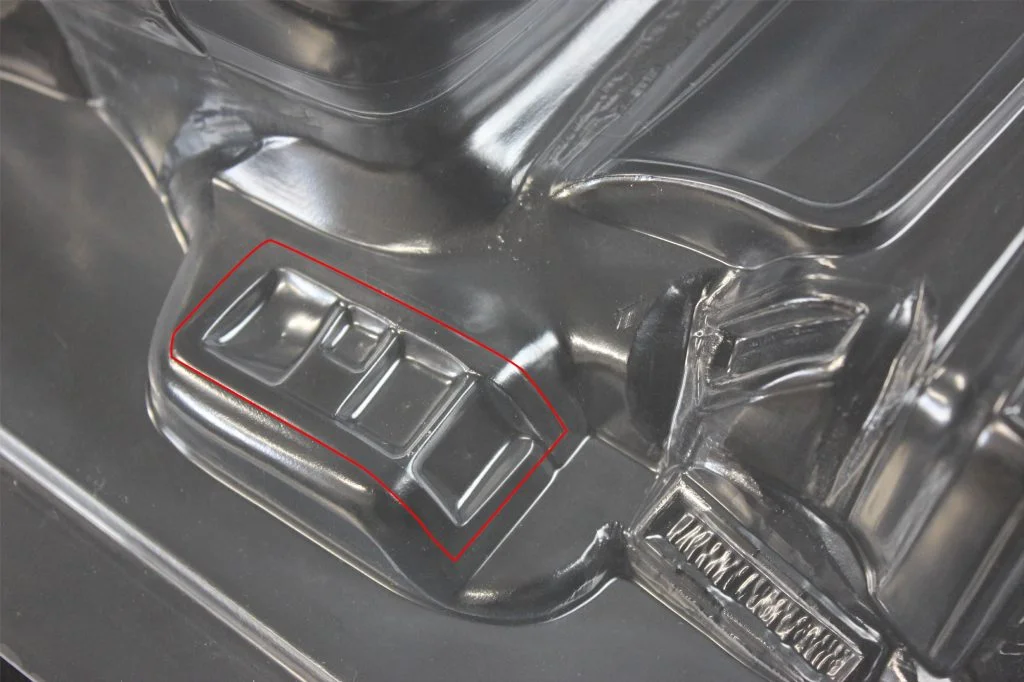
The light parts are designed to be attached from the back of the body, so please cut while leaving the attachment tabs. Please secure it with tape or adhesive.
Spoiler
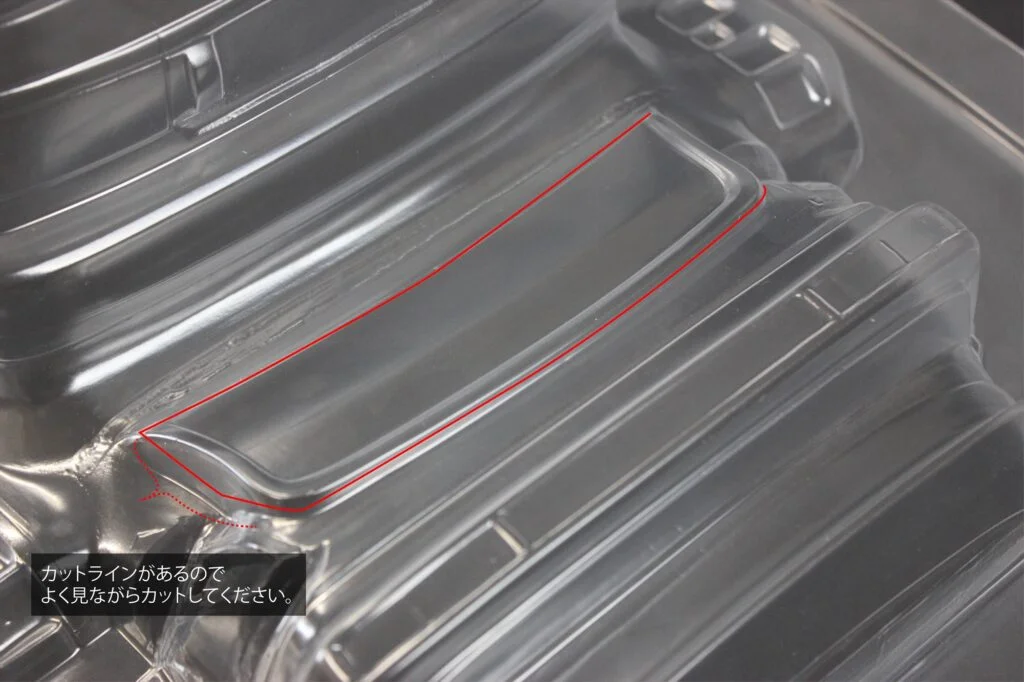
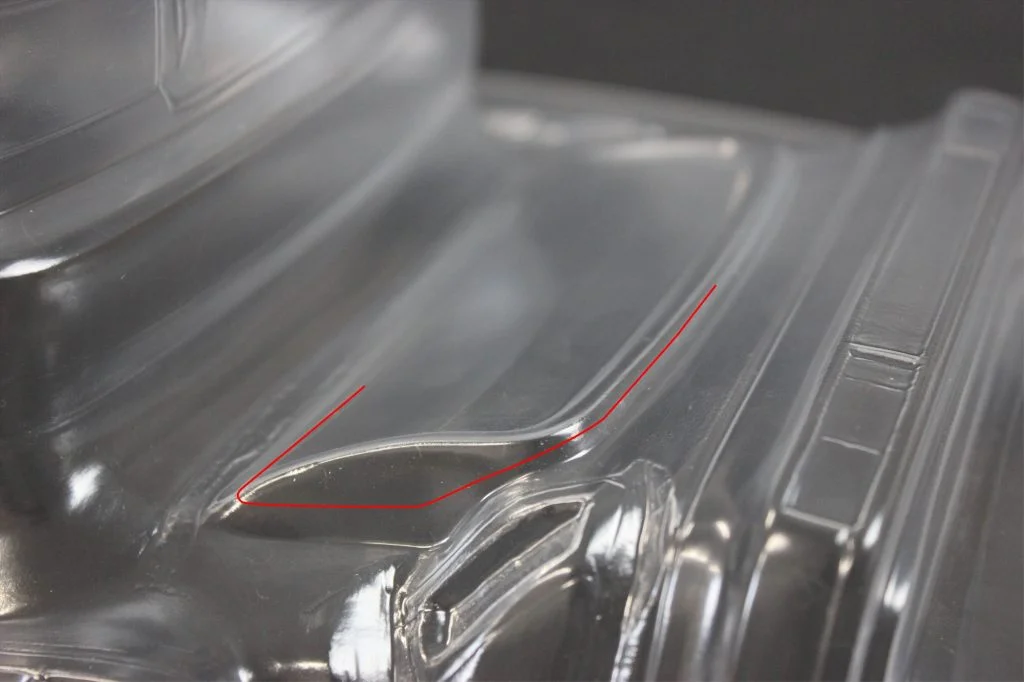
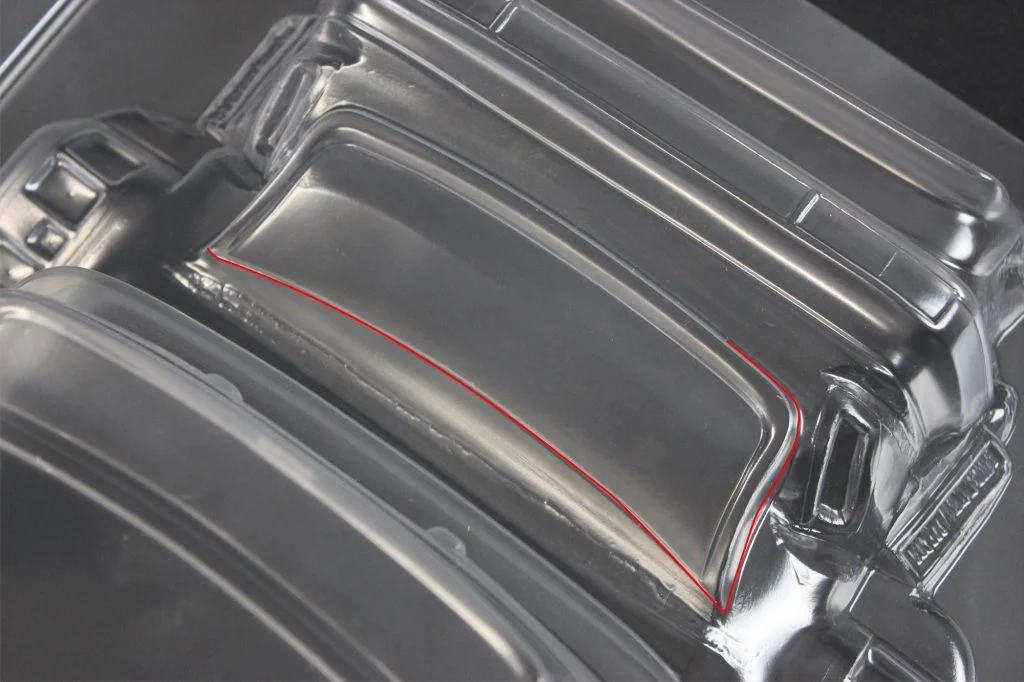
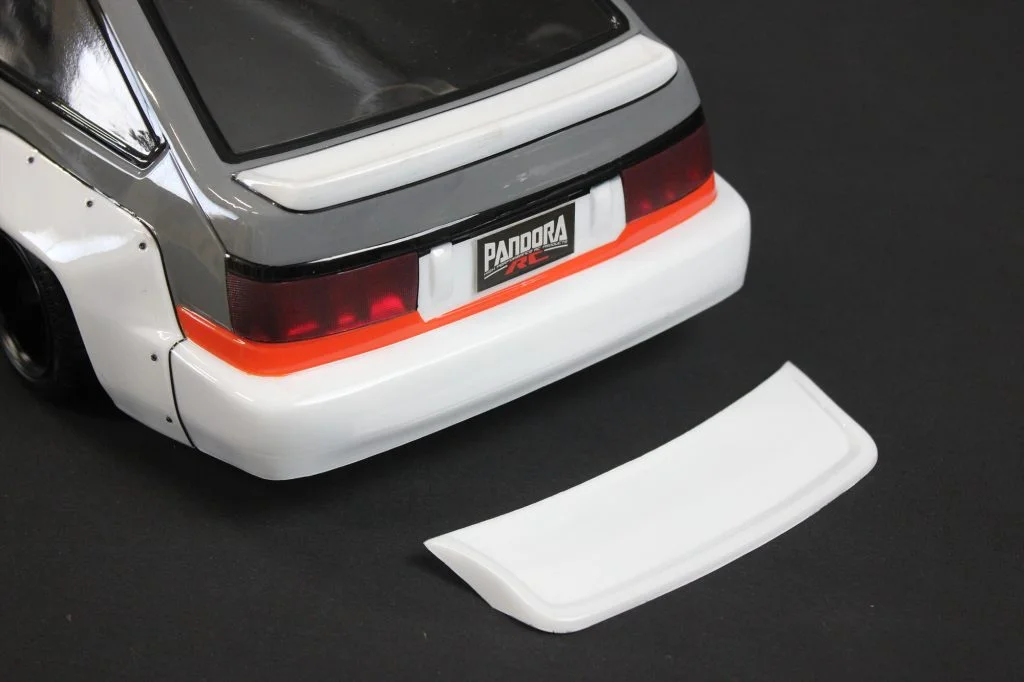
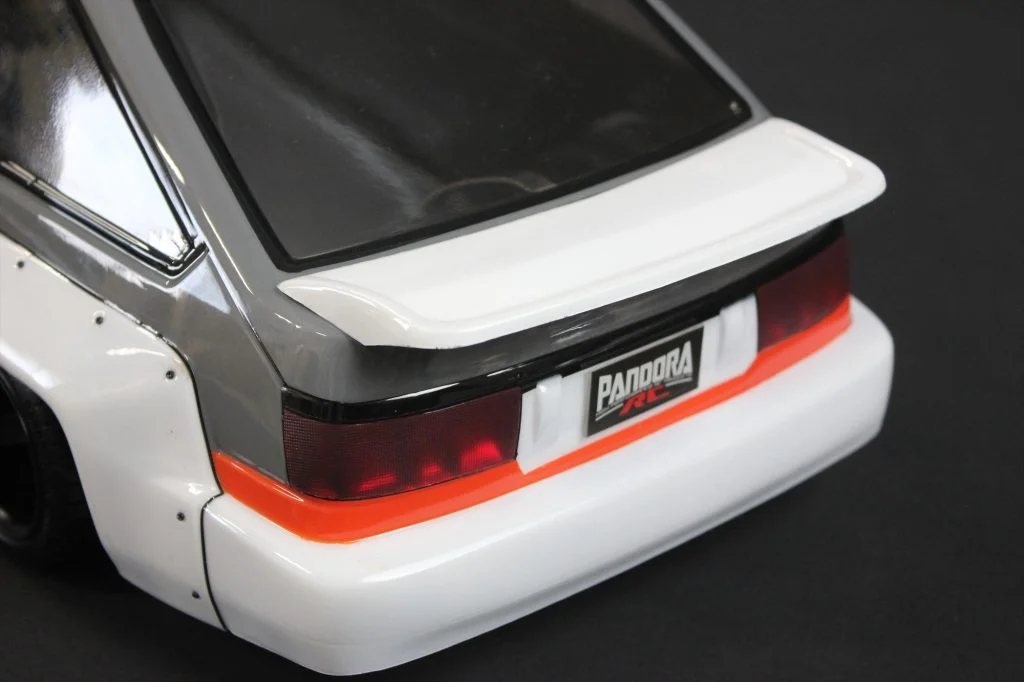
It can be installed on top of the “integrated mini spoiler” molded into the body.
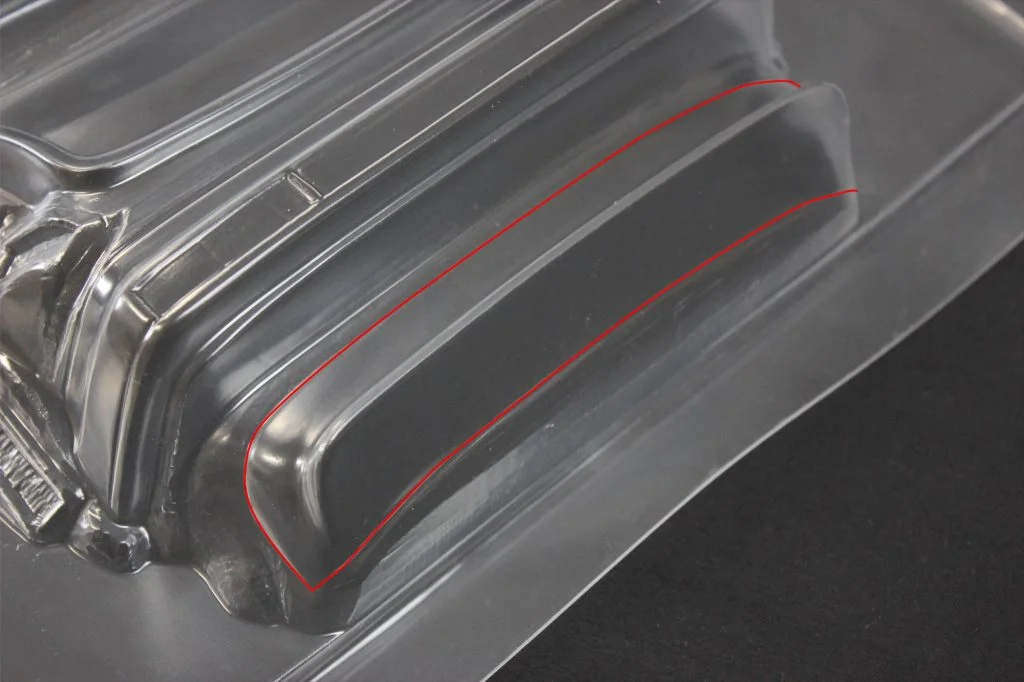
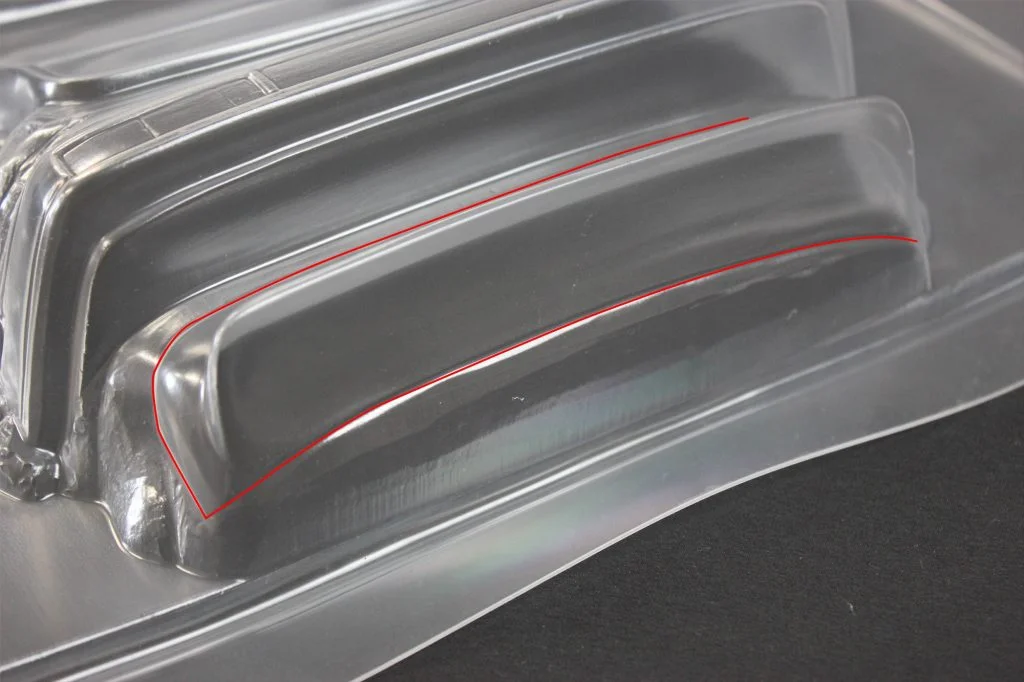
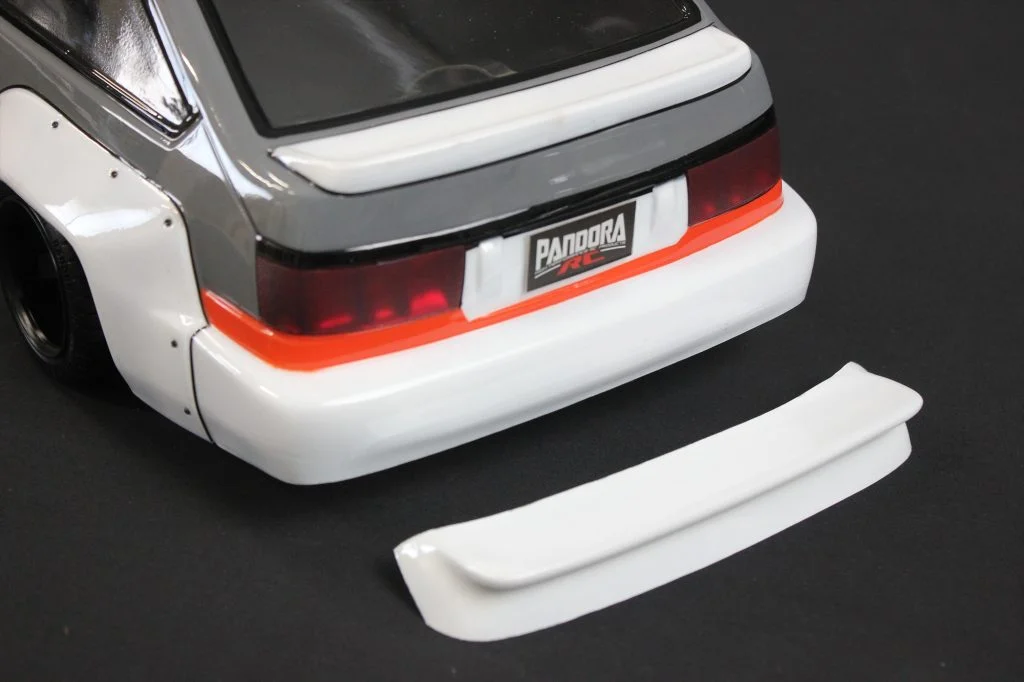
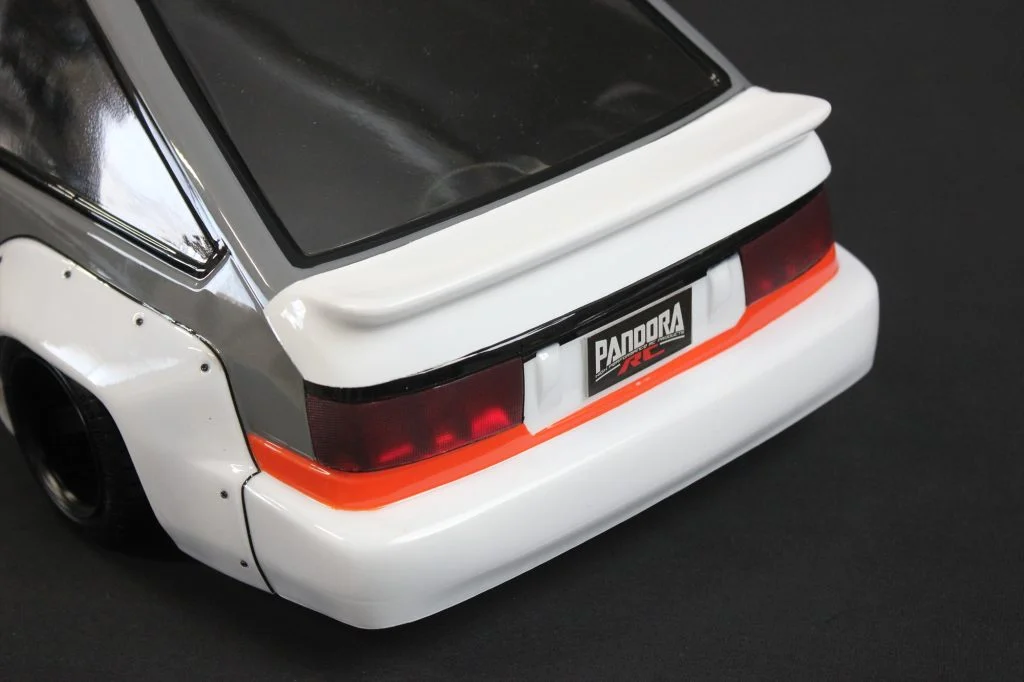
It can be installed on top of the “integrated mini spoiler” molded into the body.
I hope the information was helpful. The body set to be released this time seems to have relatively clear cutting lines compared to other Pandora bodies. It’s recommended for those who are not familiar with it. Please give it a try on this occasion!
